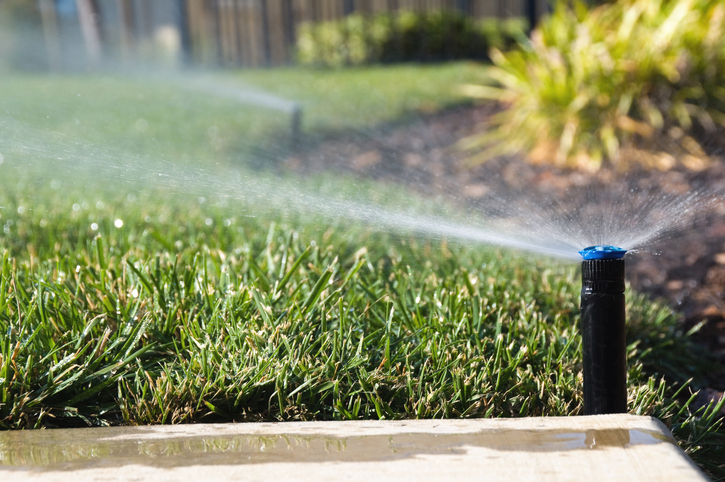
3-Day Weekend Project: How to Install a Do-It-Yourself Sprinkler System: Not for the Faint of Heart

If you're tired of spending more time watering your lawn than relaxing in it, installing a DIY underground sprinkler system could be just the project for your next long weekend. Unlike the plumbing inside your home, you don't have to be a professional or expert do-it-yourselfer to install your sprinkler system. Put in a little work this weekend and by next week you could be watering your lawn with the flip of a switch. (You will need to let your utility company know about your plans before you start digging, however.) Step One: Select Your System You can purchase complete underground sprinkler systems at your local hardware store or even online. We recommend choosing your system before you complete any planning or prep work. Many kits include design and planning guides to assist you. Step Two: Plan Your Project Just like with any other project, beginning with a plan is the best way to ensure your weekend ends with a working sprinkler system. We recommend mapping out your system on paper before marking it in your yard. Make sure that your sprinkler heads are evenly places, so you don't inadvertently leave any of your yard out of the design. Next, make a list of the tools and supplies that you will need to complete your project before you go shopping. Step Three: Just Add Water Well, we wish it were that simple. You will need water for your sprinkler system eventually, and now is a good time to access your water line. The best way to do this is by tapping into your main water-service line- you can also connect to an existing spigot. Step Four: Just Dig It Here comes the fun part. Dig a trench that is at least 6” to 8” deep. Aim to keep the sides sloping at a 45-degree angle. Keep in mind that the trenches should be level. If some sprinkler heads are higher than others, your system will not be as efficient. Also, you can rent a gas-powered trenching machine to make your job much easier. Most rental companies will deliver a machine for a small cost. Step Five: Install the Zone Valves and PVC Pipe This is when your project can get a little tricky. Every sprinkler system is different, and you should follow your manufacturer's instructions. You will need to dig an additional hole to install the valve manifold box (which groups the valves in one areathrough ) and attach it to the main water line. Then connect PVC pipe to the open end of the manifold and lay the pipe in the main trench. Attach risers where sprinkler heads will go. Step Six: Here Come the Sprinkler Heads How you install your sprinkler heads will also vary depending upon your system. However, all systems must be flushed to clear debris from the line before connecting the sprinkler heads. Do not forget or skip this step. Step Seven: Install the Controller and Enjoy Your Hard Work Your final step is to install the controller to operate your sprinkler system and sit back and relax.
Sources:
- http://www.lowes.com/projects/lawn-and-garden/install-an-underground-sprinkler-system/project http://www.diynetwork.com/how-to/outdoors/landscaping/how-to-install-a-sprinkler-system
